EN
EN
 English
 Français
 Deutsch
 Italiano
 Español
 Português
 Nederlands
 Polski
 Türkçe

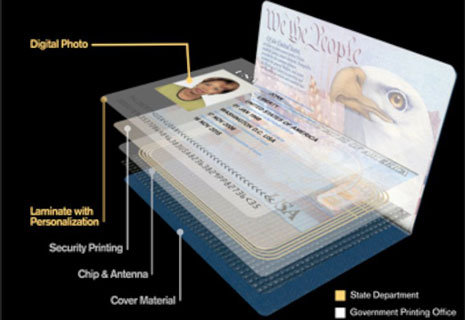
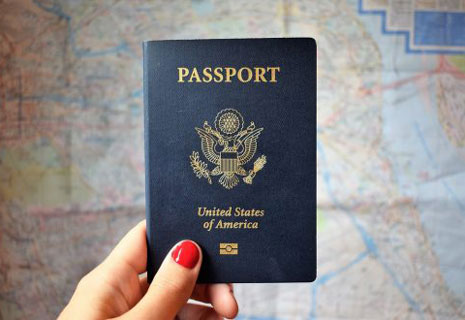
How to Print Your Own Passport Photo Smartly
Need to renew your passport, but don’t want to visit a studio or Walgreens for printing ID photos? Now you don’t have to do that. Thanks to special image editing software, it’s possible to create and print passport photos at home for the whole family. In this guide, you will find the steps for preparing a photo for any document type all by yourself, and discover a convenient program that will speed up the workflow.
How to Print Passport Photos at Home
What software to choose for printing? We suggest checking out Passport Photo Maker since it combines ease of use with a powerful toolkit. With this program, you will be able to create and print your own passport photo right at home, skipping a time-consuming visit to Walmart and CVS stores.
You don’t need any special knowledge in photography and post-processing to use Passport Photo Maker. Thanks to the biometric features detection and auto-crop, you can create a photo in a minute. Just upload your image and make a few clicks. What’s more, you get access to one of the largest ID databases: the program harbours different document types for more than 130 countries.
See what you can do with Passport Photo Maker:
- Make photos for passport, visa, ID card, driver's license, student card
- Use ID photo templates for 130+ countries - US, UK, Canada, Australia etc.
- Crop photos in seconds thanks to automatic biometric features detection
- Change background color and replace clothes right on the picture
- Export digital photo of the given size or print with cost-saving layouts
Now, let’s find out how to print passport photos. Here are the steps:
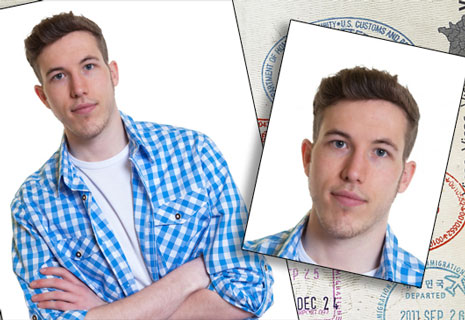
Step 1. Take a Photo and Open It
You can use either a camera or a mobile phone to make a picture. To avoid tilting the frame, ask your friend or a family member for assistance. Before making the picture, put on your regular clothes, then pick a room with plain white or creamy walls and adjust the lighting there. Next, take the photo and upload it to your computer. Finally, open the image in the software.
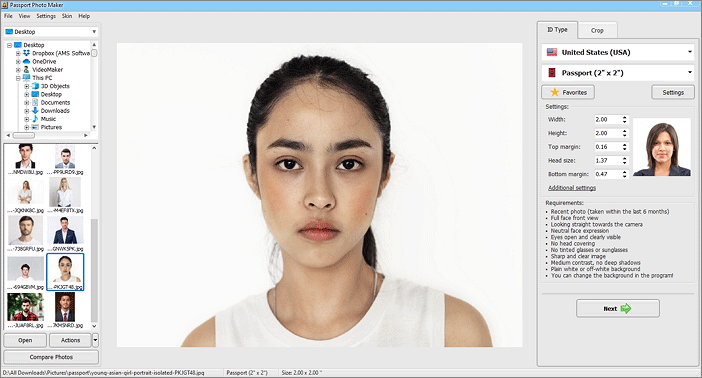
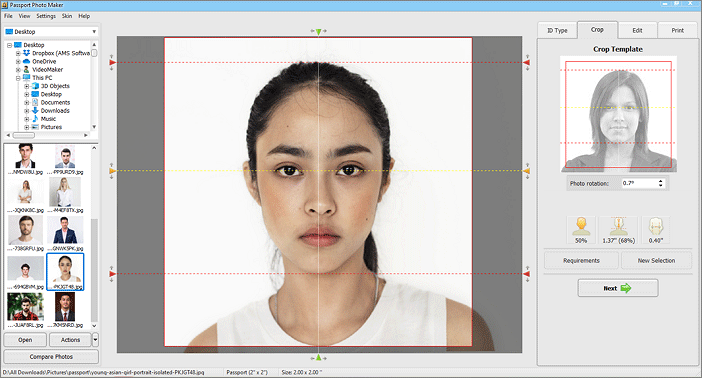
Step 2. Crop the Photo With a Template
Crop your image to the required size. Choose a country, then pick the ID template you need. The software will crop your image automatically according to the chosen document type. For example, select the template for the U.S. passport to get a 2x2 photo that you can print right away.
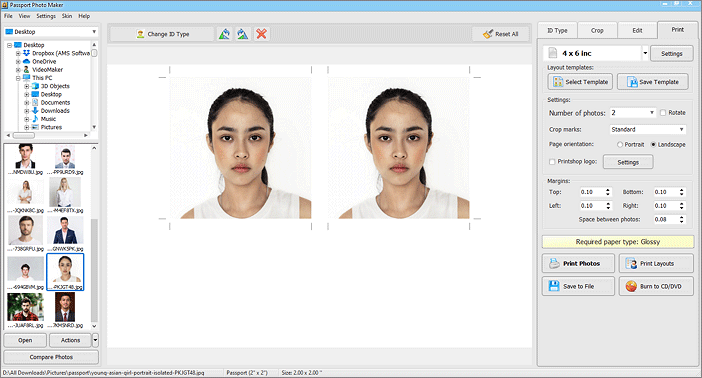
Step 3. Print Your Passport Photo
When your photo is ready, go to the Print tab. You can print passport photos on 4x6 paper or choose any other suitable paper size. If you need more than 2 or 3 copies of your image, select A4 or Letter format. Passport Photo Maker allows you to place pictures for different ID types on one paper sheet. That’s very convenient when you need DIY photos for all your family members printed at once. Finally, set the number of pictures and click Print.
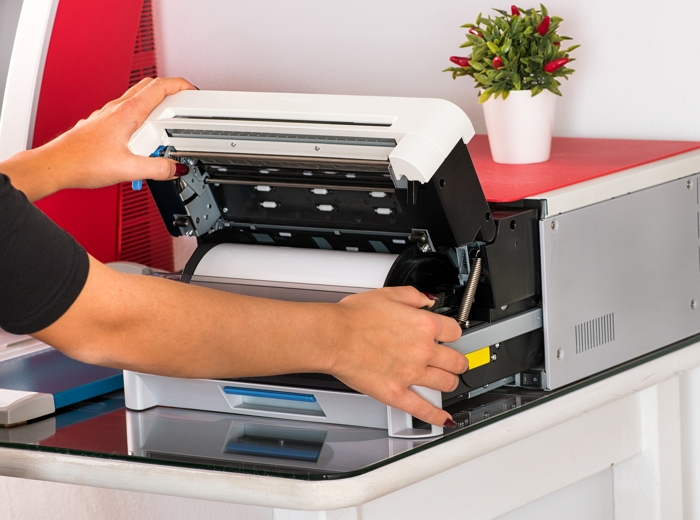
No matter if you prepare to make ID photos yourself, or seek to provide this service to your photo studio customers, the main thing to consider is obviously the type of printer you will be using. Let’s see what you need to keep in mind when purchasing a printer.
Tips on Choosing a Printer
When you are choosing a printer for home use, you basically search for an adequate resolution (measured in dpi – dots per inch) and a low price. When you purchase a printer as a part of photo studio equipment, however, take into account such additional factors as print speed, dry time, types of paper accepted, and the cost of supplies.
The most popular types of photo printers these days include high-end inkjets and dye-sublimation photo printers. As for the manufacturers, the most trusted brands are HP, Canon and Brother.
Dye-sublimation photo printers, also known as dye-sub, or thermal-dye printers, are chosen by many professionals. They produce perfect photographic prints with true color tones at a high speed. The paper is completely dry and can be handled as soon as it emerges from the machine. Dye-subs are also economical in terms of supplies. Their price ranges from under $100 for mini-lab models to $1000 for high-end machines.
Inkjet printers are a cheap alternative, and they have come a long way in recent years. Today there are photo quality inkjets with up to 4800 x 1200 dpi color print resolution available. This guarantees perfect output quality when you print passport photos at 300 pixels per inch resolution. Inkjets are good if you need a multi-functional device, not just a photo printer. A high cost-per-page is a drawback, though. Nevertheless, there are ways to save on expensive supplies. The quick guide on how to print ID photos smartly will be a great help.
No matter what printer you choose, Passport Photo Maker will work with any of them, giving you the highest image quality possible in a short period of time.