EN
EN
 English
 Français
 Deutsch
 Italiano
 Español
 Português
 Nederlands
 Polski
 Türkçe
 Read time: 4 min.
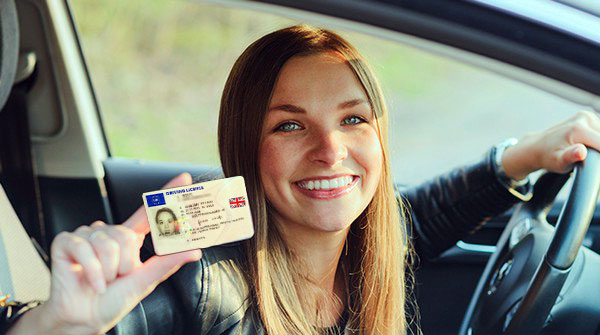

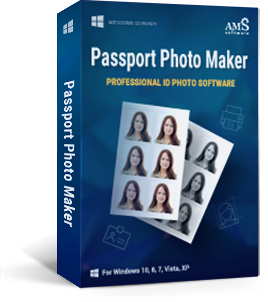
How to Make an ID Photo in 5 Simple Steps
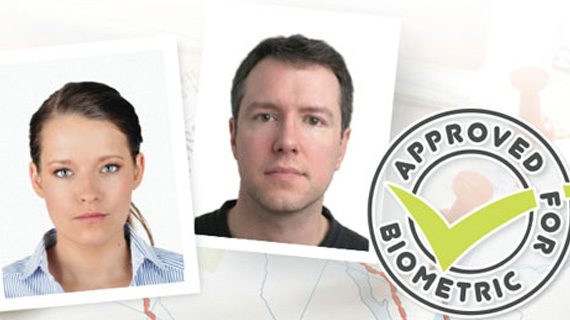
To make an ID photo of professional quality, you should first check the passport photo guidelines, the consulate requirements for visa photos issued by the government, etc. There you will learn the right dimensions, the size of the subject’s face, the background color, the paper for prints, the required format for online application, etc.
Passport Photo Maker helps you here with its integrated database of ID types for different countries. Since official requirements frequently change, the program database is regularly updated. Furthermore, the user can add new ID types specifying the dimensions, as well as make and save changes to the existing ones.
Let's see how you can make an ID photo with Passport Photo Maker:
Step 1. Pick an ID card template for your country
The screenshot below represents the ID Types Editor in Passport Photo Maker. On the left there is a list of ID types for the selected country. Use the Add button when you need to add a completely new ID type, and the Duplicate button to add one that’s similar to some other ID type from the database. On the right you enter the dimensions in pixel, mm, or inch. Be careful setting the margins – this will make the head size change too.
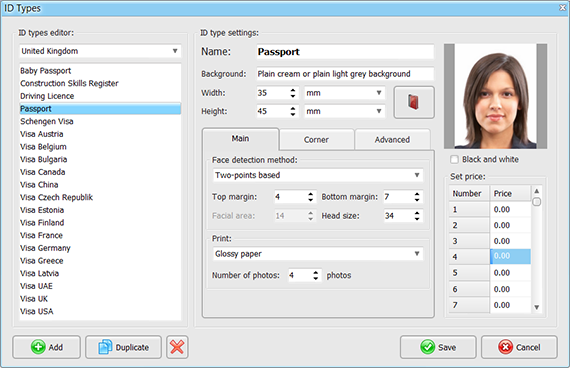
Besides the Main tab with dimensions, there are Corner and Advanced tabs. In Corner you can add a white corner or a round mask required for some ID types. In Advanced, you may enter instructions for the crop accuracy, and any notes about this ID type – they are then shown in the main program window.
Step 2. Change background in one click
Another handy tool is the background replacement module. This will be of great help when you need to make an ID photo for a certain visa, as different countries have their own requirements concerning the background color. Passport Photo Maker can automatically change background color: open the Edit tab, click Change Background, and pick the color.
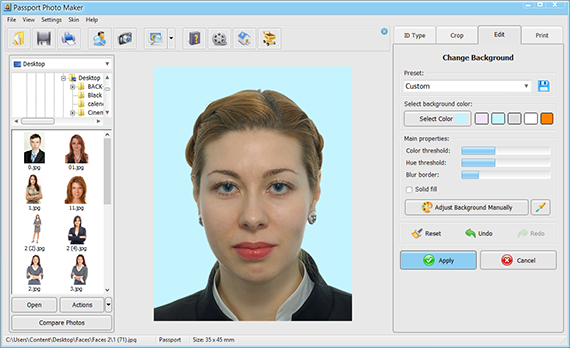
The photo background will be changed with one mouse click. If some corrections are needed, click Adjust Background Manually and use the brushes. All operations are intuitive, so you can achieve a perfect result in no time.
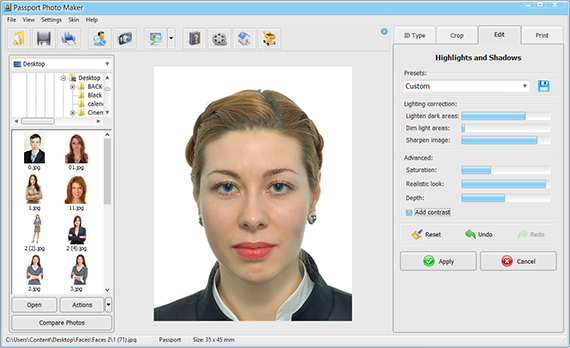
Step 3. Configure highlights and shadows
When you have cropped the photo and changed its inappropriate background, it is time to fix some lighting issues. While on the Edit tab, click Highlights and Shadows. There you will also find a number of presets for typical photo problems. In case you need to adjust the lighting manually, move the sliders to darken or brighten affected areas, increase the overall sharpness and restore the lost depth or saturation. Remember that there should be no shadows or glares on the face.
Step 4. Retouch your ID card photo
Keep in mind that an ID card picture is valid only if it looks natural. How to retouch photos in Passport Photo Maker? Use the Photo Retouching tool only when it is absolutely necessary. For example, the flash of your camera has resulted in red eyes on an ID photo. With the help of Red Eye Removal, you can carefully edit your picture to meet the official requirements. Set the right brush size and place the mouse point over the red pupils. Click on the chosen area and the program will make the eye pupils black again.
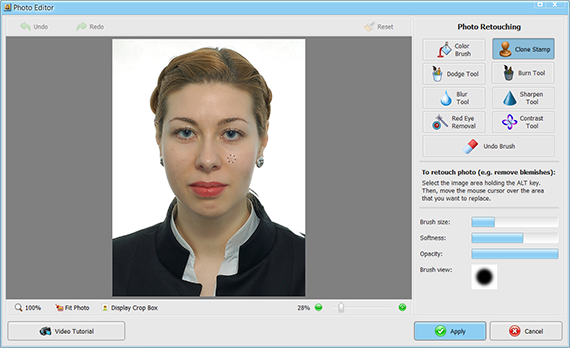
The Clone Stamp lets you remove pimples, moles and other skin defects that draw unwanted attention. Hold the Alt key down and choose the area you are going to copy. Place the stamp over the skin defect and get rid of it in one click.
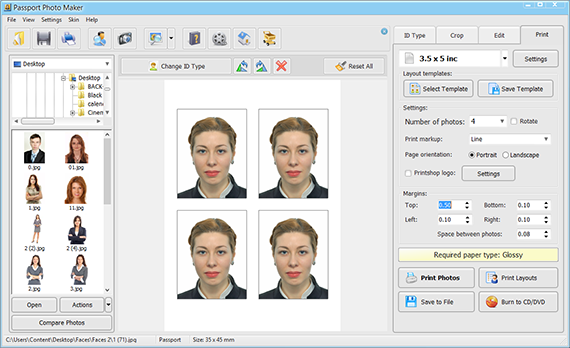
Step 5. Save and print your photo
Make your own photo ID card right at home using the program print module. When your picture is ready, switch to the Print tab. First, set the size of paper you are going to insert into your printer. Next, select a layout template to print as many photo copies as you need. If you add print markups, it will be easier for you to cut your ID pictures with a white background out of a white sheet of paper. Do not forget to set appropriate margins and leave some space between the photos.
With Passport Photo Maker software, you can prepare your own perfect ID pictures with minimum efforts. Taking a photo yourself and processing it in an easy-to-use program is much faster than looking for a local ID card photography and then waiting for them to print your set of photos. Here you will get a powerful ID photo maker that will save your time and money now.