EN
EN
 English
 Français
 Deutsch
 Italiano
 Español
 Português
 Nederlands
 Polski
 Türkçe

How to Take Baby Passport Photo: Complete Guide
Do you need to get a passport for your little one, but can’t find a good way to make the kid’s passport photo? Indeed, it often turns out to be quite a challenge. Newborn children are too little to take them to a photo booth or photo studio. It is inconvenient, it is distressing and can become annoying for everyone - for the kids, for their parents, and for the photographer.
How to take a passport photo for a baby in a non-stress mode? Do it all by yourself at home! You will need your child, a camera and a powerful passport photo editor. In this guide, you’ll discover useful tips and tricks on how to prepare a passport photo for your kid in mere minutes. Your picture will meet all the official specs for its dimensions, proportions, colors, lighting, etc. and will not be rejected.
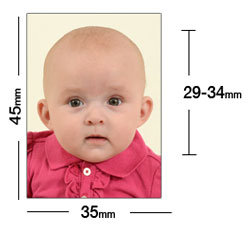
Infant Passport Photo Requirements
Let’s start with the list of main requirements for a baby picture:
- the photo has to be taken less than 6 months ago
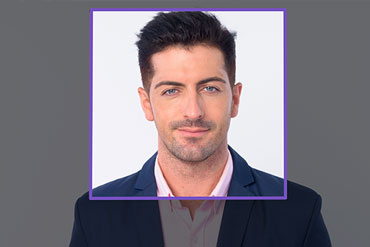
- the image must be in color, clear, sharp and focused
- the background of the child’s passport photo should be light/plain colored
- the baby should look straight at the camera
- the baby’s head should not be tilted, both ears and the chin are showing in the photo
- the newborn’s facial expression does not have to be neutral, but it’s a must for toddlers
- the child’s mouth should be closed, although newborns are allowed to have it open
- there should be no shadows across the infant’s face or background
- toys, bottles, pacifiers are forbidden in the baby passport photo.
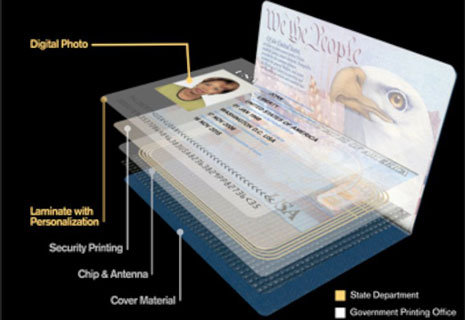
Want to make a US passport for your baby? Then check out the complete list of specs for that document type which the US State Department set forth for all passport photos on their official website.
How to Take a Passport Photo For a Baby at Home
When your children are at home, they feel more secure than in a photo studio. The shooting process will be much easier for both you and the babies. You can relax and take as many tries as you need. To get the perfect result, just remember the rules and follow the steps from our guide on how to take a baby passport photo.
Step 1: Create Appropriate Lighting Conditions
Start with adjusting the light. For passport photos, you need soft lighting that won’t create strong shadows on the baby’s face. Find a room with natural light coming from outside. If the weather is sunny, use curtains to diffuse the rays. You can also use some white sheets as reflectors to create additional light sources.
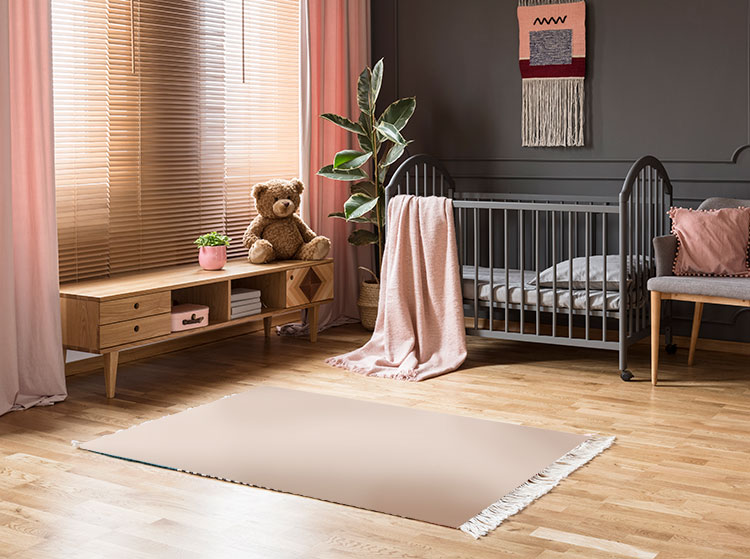
Step 2: Choose a Plain Background
According to the passport photo requirements, for example, in the USA or UK, the background should be plain and preferably white. However, colors may differ: for an Australian passport photo, you need a gray color. To create a plain background, sit your infant in a baby chair covered with a sheet of the required color. For smaller babies, you can place a blanket or paper sheets on the floor and lay the newborn down on top of them.
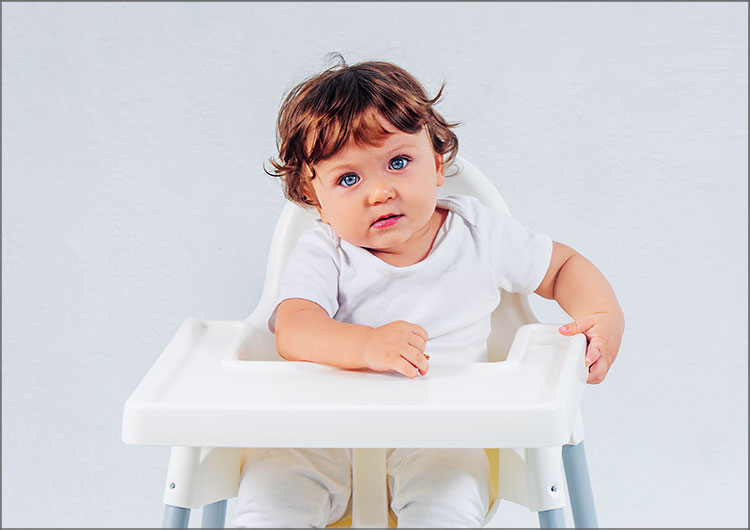
Step 3: Position Your Child in the Photo
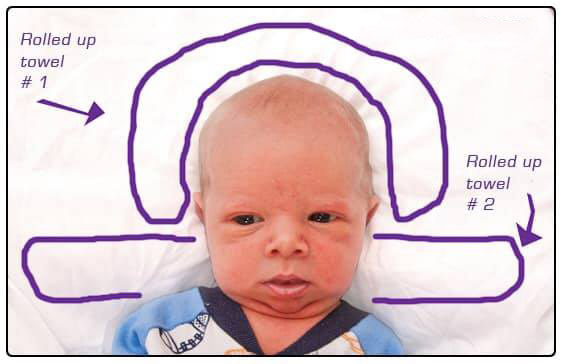
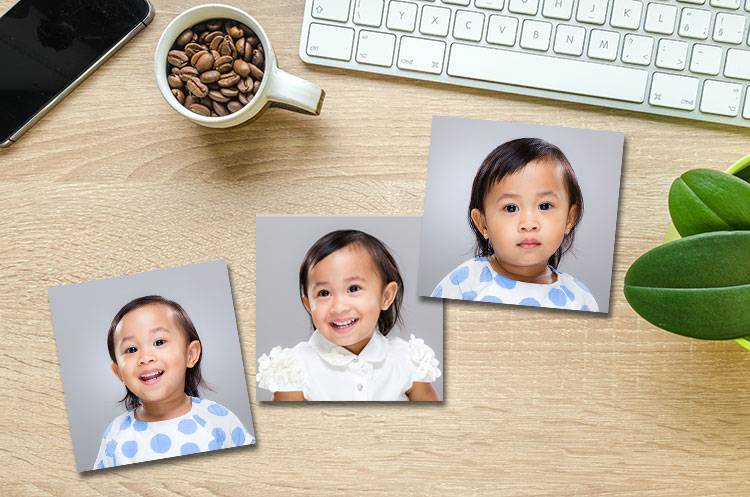
Although babies can’t stand or sit still by themselves during the photo session, you must not support them with your hands. There are a few tricks for making DIY photos though. If your baby is sitting in a chair, use a head cushion to support their neck. If you prefer placing the child down on a blanket, roll two towels to prevent any movement. Look at the example below:
Step 4: Take Several Baby Photos
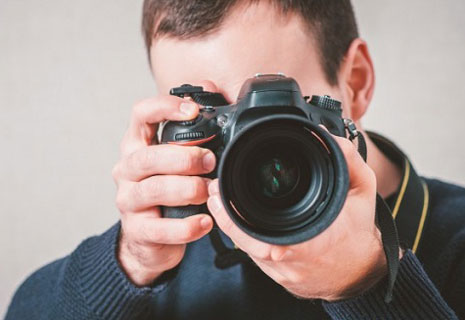
Place the camera around 1.5 meters away from the infant. Thus, you’ll provide enough space to crop the image correctly for it to comply with the baby passport photo size requirements. Although infants under 6 months do not have to look straight at the camera with their eyes entirely open, you can try drawing your baby’s attention. To do that, hold a rattle or some other toy making noise behind the camera.
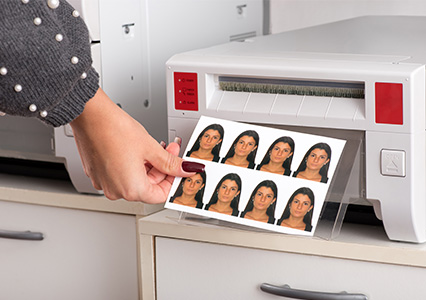
Step 5: Edit & Print Your Pictures
Next, you’ll need to crop the photograph according to the baby passport photo guidelines. If you use Photoshop or a similar photo editor, you can’t be sure the picture will comply with the specs. The same goes to local print services or booths. It’s better to get a user-friendly program designed specifically for making ID photos. For example, download Passport Photo Maker and you’ll create a perfect image for a baby passport application.
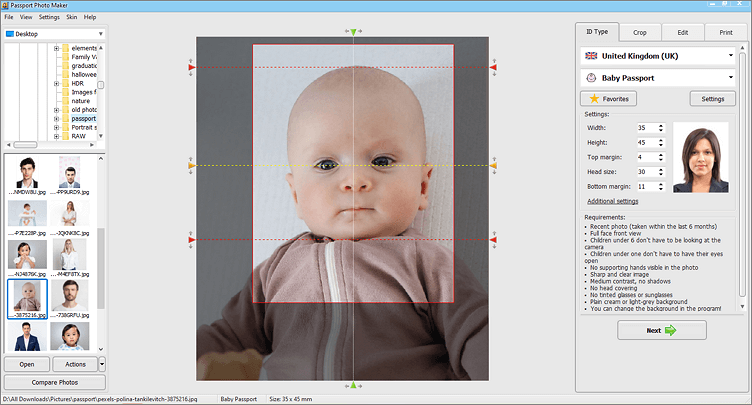
Start with cropping your image to the required size. The program can detect the facial features and crop the picture automatically according to the infant passport photo requirements. Also, it allows you to adjust the color balance, saturation, contrast, and sharpness. So you can fix some mistakes made while taking the photos. If you have a high-quality printer at home, you can print passport photos for the baby straight away. Alternatively, save the digital image as an electronic copy of passport photo for online submission.
Watch the tutorial below to see how easily you can prepare a proper baby passport photo with an ID image editor:

Now you are fully prepared to take and print passport photos for your babies all by yourself. Passport Photo Maker software will be a great help. In comparison with expensive photo studios, it allows you to save your time and money when you need to get some ID photos for your family.