EN
EN
 English
 Français
 Deutsch
 Italiano
 Español
 Português
 Nederlands
 Polski
 Türkçe
 Read time: 4 min.
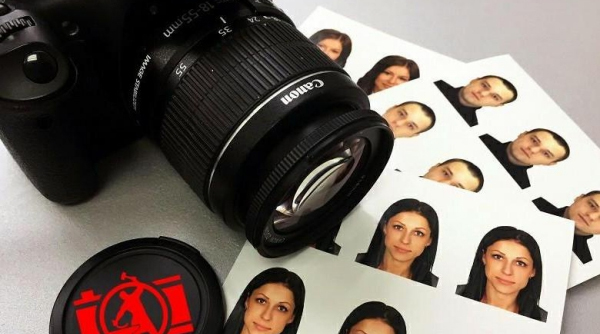

How to Take a Passport Photo - Official Guidelines
Today you don’t need to use cutting-edge photography equipment to take your own passport photo. Even the most ordinary cameras can now produce ID photos of adequate quality. What’s more, you can take a passport photo using a webcam on your PC or a smartphone and print passport photos yourself rather than go to places like local CVS or Walmart. All you need to do is to follow some basic rules.
Here are the essentials to keep in mind when taking government-approved ID photographs yourself. They will also be helpful to beginner photographers starting to master the techniques of ID photo business.
1. When do you need a new passport photo?
If you are planning to travel in the foreseeable future, you should take a look at your current passport and consider whether you need to renew your photo there. For example, a U.S. passport is valid for 10 years, but in some cases you may need to make a new 2x2 photo before the previous document expires.
Do not worry, a simple change of your hairstyle doesn’t require a new ID picture. However, more profound changes in your appearance will certainly call for reshooting. Here is the list of photo renewal requirements:
- Significant changes in one’s appearance due to adulting or aging (especially relevant to young applicants who got their passport at the age of 16 and should renew it in 5 years instead of 10 years)
- Facial surgery or serious trauma (except for minor cosmetic procedures)
- Lost or gained a large amount of weight
- Gender transition
- Added or removed extensive facial tattoos or piercings
- In case you lose your passport
2. How to take a passport photo to meet official requirements?
So you have decided to replace your current passport photo with a new one. Following the tips below, you can avoid common mistakes and make sure your new ID image meets all the official requirements. But first of all, freshen up your knowledge on passport photo standards and dimensions.
Here are the official requirements for US passport photo:
- Photo dimensions should be exactly 2x2 inches (51 x 51 mm)
- Your head should measure from 1 inch to 1 3/8 inches (25 mm - 35 mm)
- Your eyes should be placed between 1 1/8 inches to 1 3/8 inches (28 mm – 35 mm) from the bottom of the photo
- Your passport photo must be printed on quality photo paper, either matte or glossy
- You are required to submit 2 identical pictures
- Your photo should be recent (no older than 6 months) and reflect your current appearance
- The photo background should be plain white or white-off, without any pattern
- Your photo must be in color
- It is forbidden to digitally alter or retouch your real-life appearance
Hailing from the UK and planning to renew your passport? Then be sure to check out the latest UK passport photo requirements.
Now, let’s have a look at some important aspects of making a fully compliable ID photo.
Camera placement and settings
If you are shooting with a digital camera, make sure that the distance between the subject and the lens is at least 2 meters. Full face front view (often including the top of the shoulders) is a must for all kinds of official documents. Zoom in the camera so the face is shown from the bottom of the chin to the crown, with some space below and above the face left. Keep the camera at the level of the subject’s eyes. Regarding the camera resolution settings, you can take a good passport picture at 640x480 resolution, commonly available on today’s cameras.

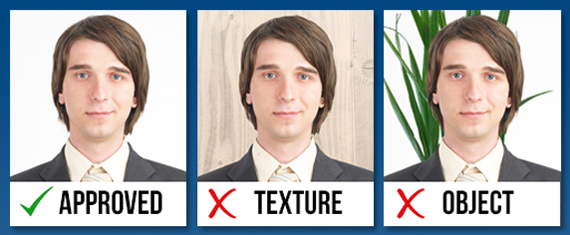
Background and lighting
ID photos must be taken against a uniform plain background. It may be white, white-off, light blue, grey, cream - check out the requirements for each particular document type. The lighting must show the natural skin tones. It is best to take a passport photo in daylight. If it is impossible, set up appropriate lighting to prevent shadows across or behind the face. Artificial light should come from several sources. If there’s no way around using a flash, the subject must be close to the background to avoid underexposure.
Facial expression and glasses
The photograph must show a natural facial expression – no smiling, frowning, or blinking. The subject must look straight into the camera, so that the eyes are clearly visible. If the subject normally wears glasses, it is acceptable to keep them on, provided that they don’t have heavy frames or tinted lenses. To avoid glare on the lenses, slightly tilt the glasses downward, or raise the camera a little above the eye level.

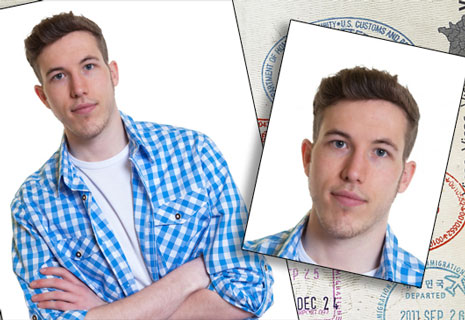
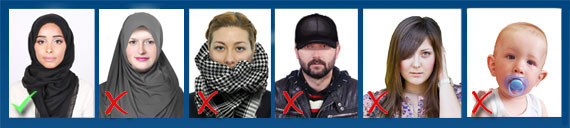
Clothes and head covering
The clothing must contrast with the background. If you haven’t thought about the right clothes in advance, it is possible to replace clothes right on the photo in post-processing. The subject must not wear any hat or head covering in their passport photo. Exceptions are made for religious headwear. However, coverings that obscure the face are not acceptable: make sure the shot clearly shows the facial features from bottom of chin to top of forehead and both edges of the face.
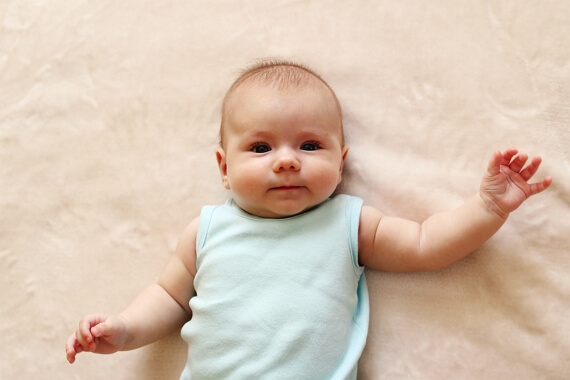
Tips for baby photos
When taking a photo of your infant, make sure that nothing gets in the shot - no toy, no pacifiers, no hands of a person supporting the baby. A good trick is to shoot your kid from the top while it’s lying on a spread blanket. Since it’s difficult for kids to focus their attention on one thing, try dangling your baby’s favourite toy behind the camera to make sure that the baby looks straight into the lens.
3. How to crop your photo to passport size?
After you have taken a perfect shot, you still need to crop your ID picture right. In order to make a passport size photo, we suggest using specialized software. Try Passport Photo Maker, a convenient photo-editing tool.
All you need to do is to select your country and the type of document. The program automatically recognizes the facial biometrics and marks the top of the head, eyes and chin for future cropping leaving enough space above the head and on each side.
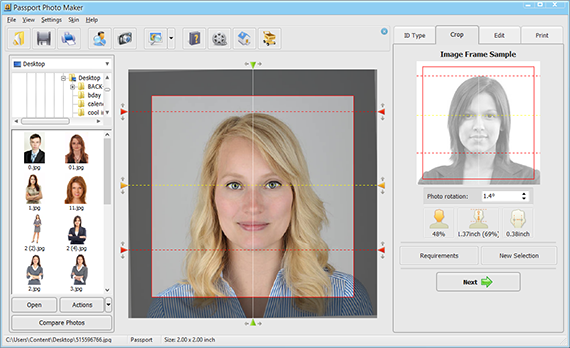
While on the Edit tab, you can also adjust the color balance, remove red eyes or get rid of shadows. In your pursuit of a more flattering appearance, beware the over-edit as your application can be rejected for an unnatural look. Choose a suitable printing template to fit all your pic copies on one page and make sure to use matte or glossy photo quality paper.
4. Can I use my Iphone to take a passport photo?
If you do not have a camera with a tripod, simply take a perfect picture with your mobile phone! To make a DIY passport photo with your iPhone, you will need some help as there is no good way to take this kind of selfie even with a stick. Stand against a plain background and use a neutral facial expression. Ask your assistant to line up your face and body in the frame - the face recognition feature built into the iPhone camera will automatically identify the subject’s face and help avoid tilting.
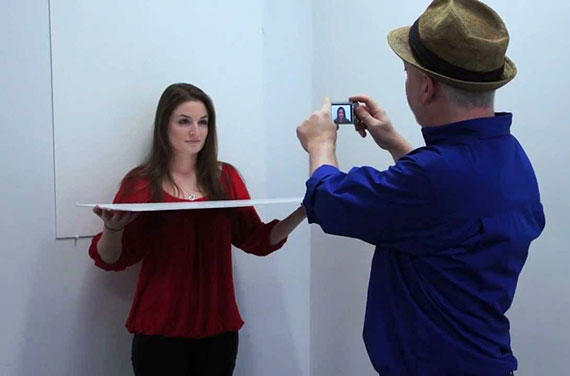
You can make further adjustments in Passport Photo Maker software, and no one will see the difference between the photo taken in a professional studio and the one you shot with your iPhone.
Get an electronic passport photo in two simple steps - take a shot and easily edit it in Passport Photo Maker! That way you will save money on photographer’s services (that are never cheap) and get an all-in-one app for preparing perfect photos for all kinds of official documents - visa, driving license, student’s ID card, and many more.