How to Print Passport Photos on 4x6 Paper: Easy Guide
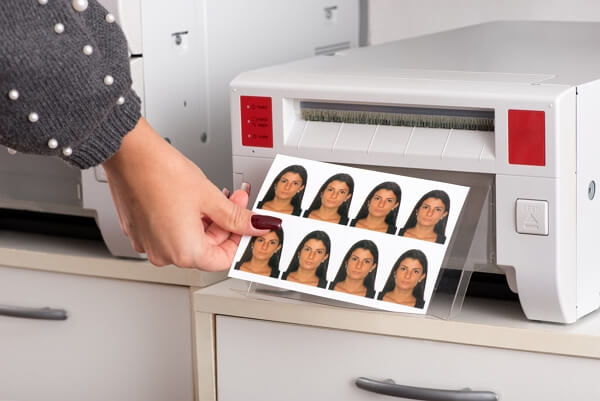
There are many advantages of making passport photos on 4x6 on your own with a smart picture converter. To begin with, you can take your time and create a perfect picture instead of having to pay for some photo you dislike at a studio. Besides, you can save a lot of money, especially if you are a frequent traveler.
Passport Photo Template for 4x6 Paper & Requirements
Before you print anything, you should review the requirements regarding ID pics. Each country has its own standards for pictures on credentials, but there is a set of guidelines that apply to all of them. Check out the list below and make sure your photo complies with them:
- Photo must be taken within 6 months before the day of application
- Photo has to be in color
- Background has to be plain with no patterns
- Resolution of the picture should be no less than 300dpi
- Image has to display the natural features of the face (heavy retouching is not acceptable)
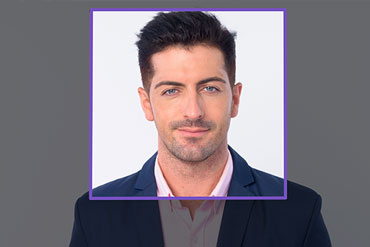
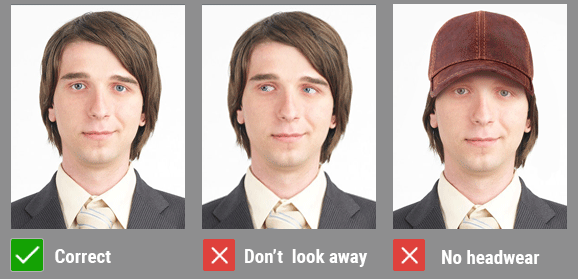
- Head of the person in the picture has to be centered and face the camera
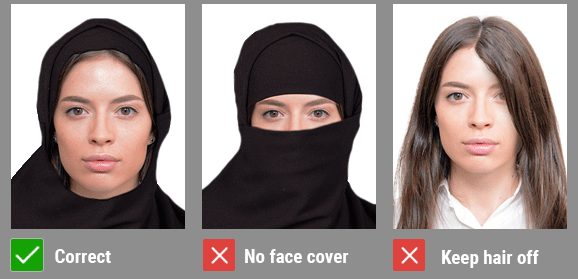
- Face has to be fully visible
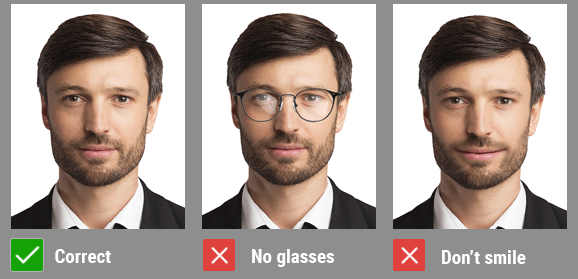
- Facial expression has to be neutral
- Eyes should be open and visible
- Headwear and jewelry is allowed only for religious or medical reasons
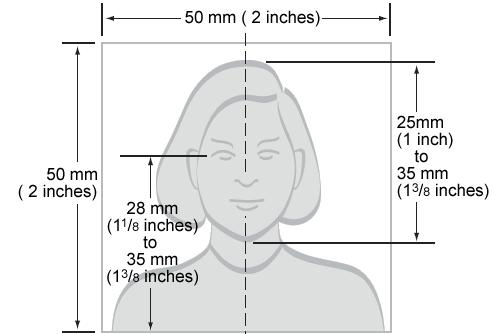
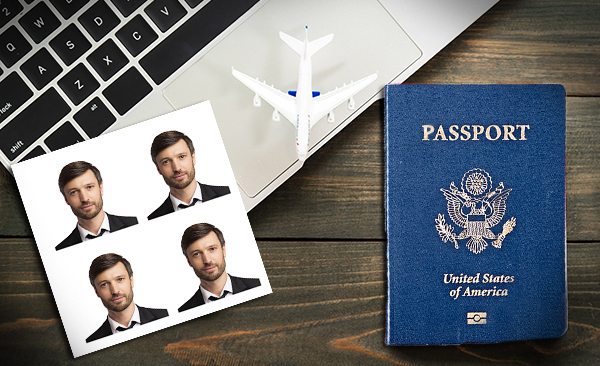
If you are a visual learner, have a look at some examples of acceptable and unacceptable pics below:
How to Print Passport Photo on 4x6: Complete Tutorial
Now that you know all the main requirements for ID photos, it’s time to get down to business. Run through the steps listed below and make your own official photo on 4x6 paper with us:
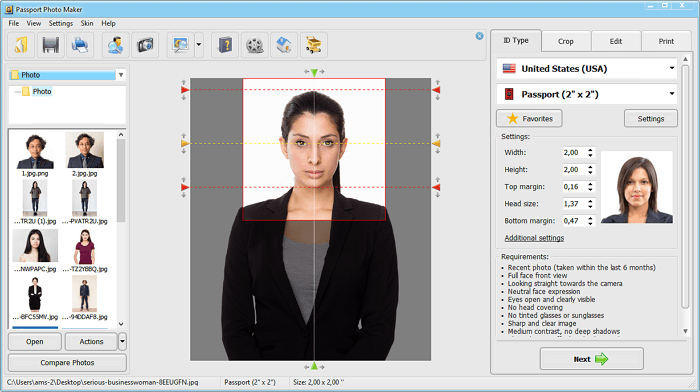
Step 1. Choose the picture template
Download Passport Photo Maker and run it. Scroll down through the dropdown menus and select the country and ID type you want to make a photo for. We will use the United States as an example. The program will pop out the necessary photo template (2x2in). Choose your picture of good quality and upload it into the template.
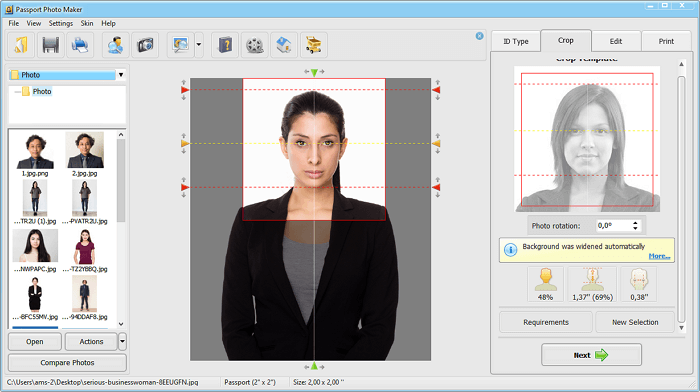
Step 2. Crop your picture with the template
Now that your picture is in the template, the software’s automatic cropping tool will detect your face and crop it according to the requirements. You can finetune the selection by moving the red and yellow markers if needed - for instance, to adjust your eye line and headline. The United States Embassy requires your head in the photo to be between 1 and 1 ⅜ inches. So stick to that.
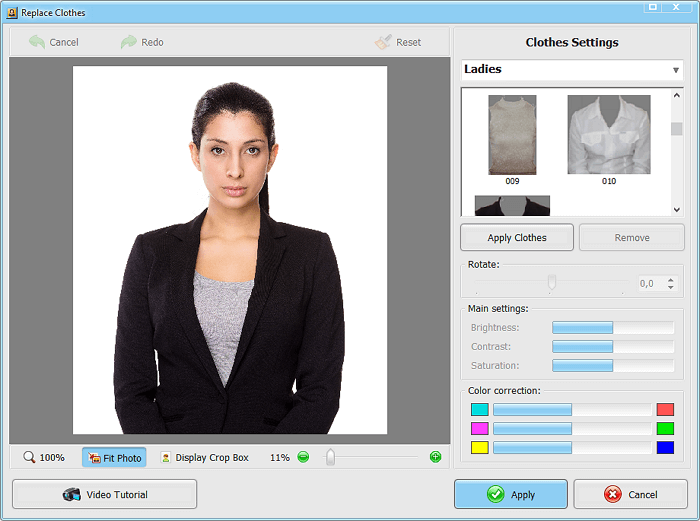
Step 3. Edit the background & clothes
Once you crop your picture, switch to the Edit tab. There, you can automatically replace the background with the required color if the initial one is unacceptable. Also, if you want to look more formal in your pic, you have an option to change your clothes. The ID photo generator has a selection of virtual clothing for both men and women. Finally, in the same tab, you can edit out the red-eye effect or any blemishes if needed. Keep in mind that heavily edited photographs are unacceptable.
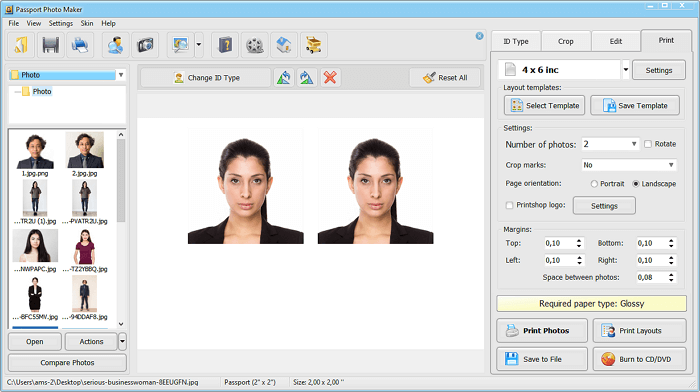
Step 4. Print your document photo
Now, go to the Print tab. Choose the 4x6 paper format, which can fit up to 2 U.S. visa or passport images - the number you need for your application. Then, click Print and get studio-quality images on your 4 by 6 photo paper. You can later attach them to your application material.
We have gone through everything you need to know about the process of printing ID pictures on 4x6 inches paper with Passport Photo Maker. But bear in mind that the program also has a wide selection of other common paper formats: A4, Letter, Executive, etc. You can even use custom paper sizes to print your images on paper you have at hand, which can save you some money in the end.

 EN
EN
 English
 Français
 Deutsch
 Italiano
 Español
 Português
 Nederlands
 Polski
 Türkçe
