EN
EN
 English
 Français
 Deutsch
 Italiano
 Español
 Português
 Nederlands
 Polski
 Türkçe
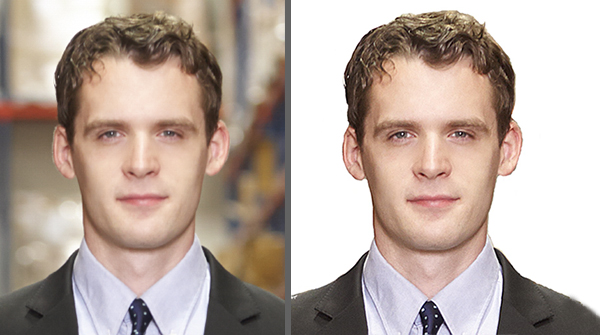

How to Edit Passport Photo Background in a Flash
Passport Photo Maker offers you a quick and foolproof way of changing a background. Just select the required color and adjust the settings for automatic background replacement. If you want to tweak the result a bit, paint over the selected areas with convenient brushes. Want to see the process with your own eyes? Watch this video guide below:

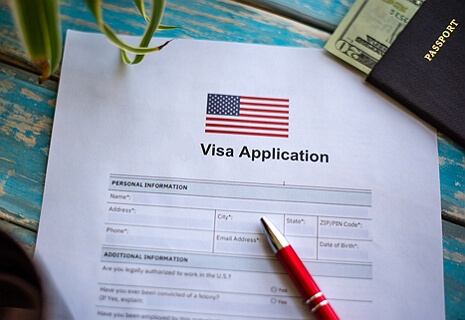
Passport photo requirements vary from country to country. Therefore, it’s vital to check the official guidelines before taking a photo. Your image has a background that differs from the requirements? No need to rush into a photo studio or retake a shot. Change passport photo background color in just a few steps with Passport Photo Maker.
See how it works:
Step 1 - Select the photo you want to edit
Start with opening your photo. You can drag and drop it directly from the image folder as well. Remember that the image you take for passport photo background change should not have dark overcast shadows, glares or digital noise.
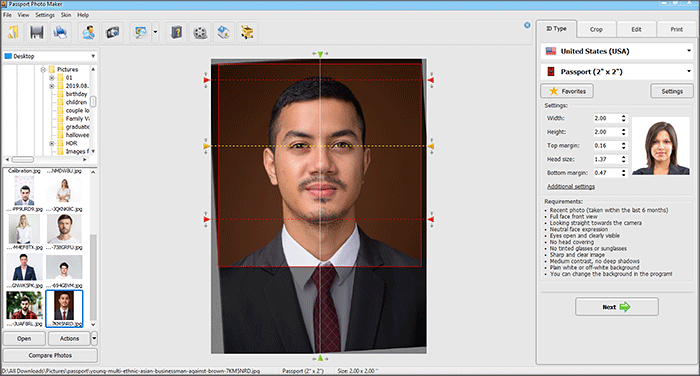
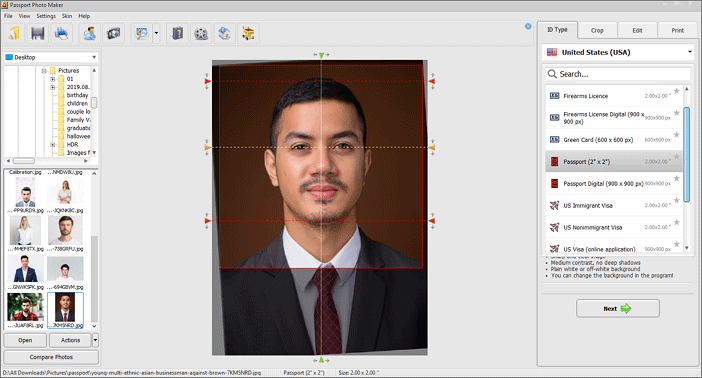
Step 2 - Crop your picture using a template
You don’t have to crop your image manually. Passport Photo Maker detects biometric features and changes the image size automatically depending on the ID type you choose. So just select the country and document type, and the software will do all the hard work.
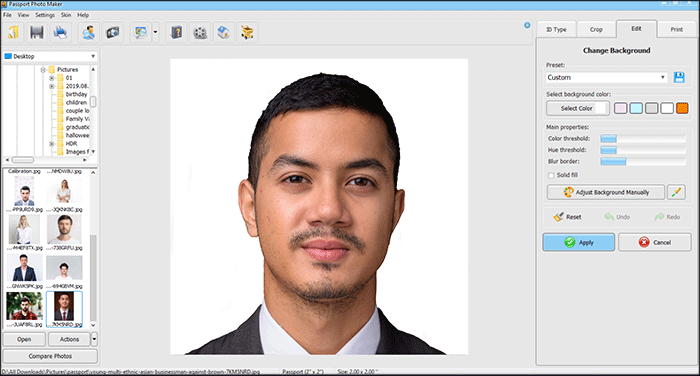
Step 3 - Change the photo background
To change the passport photo background color, go to the Edit tab and choose Change Background. Pick the desired color from the palette - usually, you need white or grey - and Passport Photo Maker will fill in the background on your photo automatically. If you need to make a blue background, you can select it from a palette with a color picker.
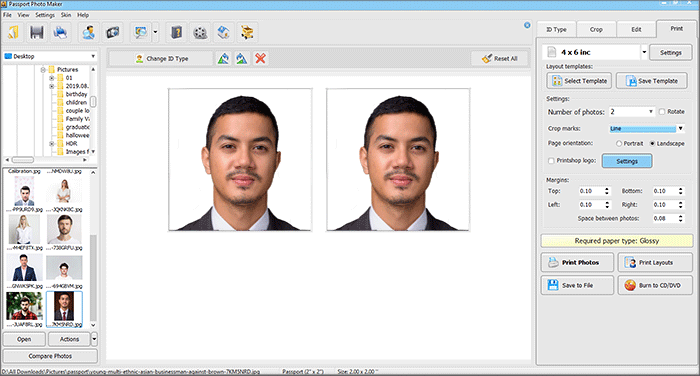
Step 4 - Save and print your digital photo
When you’re satisfied with the result, save your photo. Click Save Photo to File, then select the image quality and size. Need to print the picture right away? Go to the Print tab, choose the paper format and the number of photos, then click Print.
Conclusion
Now you don’t need a complex program like Photoshop to change a background on your passport photo. There is a simple way - save your time and money with Passport Photo Maker. Thanks to its smart tools, you can quickly prepare photos for any documents all by yourself, even if you have never used an image editor before.